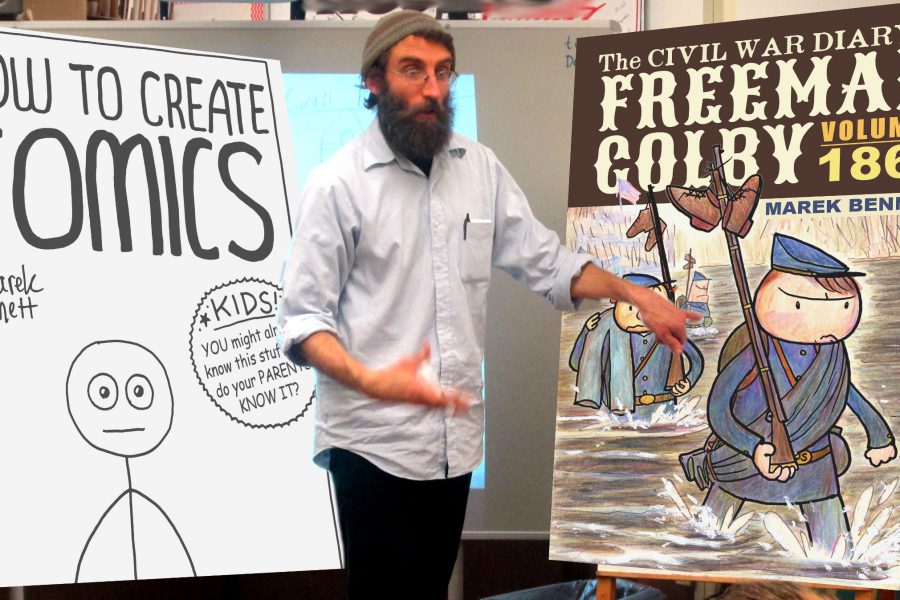
NH cartoonist Marek Bennett explores history in the stick-figure adventures of teacher-turned-soldier Freeman Colby:
My new graphic novel, The Civil War Diary of Freeman Colby, Vol. 2, depicts the historic events of 1863 from the point of view of a young NH school teacher (Freeman Colby) who enlists in the Union Army. To create this all-ages graphic history, I draw from primary source texts such as the diaries, letters, accounts, and artwork of Colby and several of his contemporaries. Here’s a quick look at my general process for creating a single page of history comics based on these primary sources:
1) Comics Materials
To begin, I’ll use my standard comics making tools & materials, plus of course a printout or photocopy of my chosen primary source text (more about that below).
2) Primary Source Text
In choosing a primary source text to draw from, I always look for the following storytelling elements:
Today I’m drawing a passage from the official history of Freeman Colby’s regiment, The Thirty-ninth Regiment Massachusetts Volunteers, 1862-1865 (Alfred Roe. Worcester, MA. 1914) [p.95]. This passage describes Colby’s arrival to camp at Rappahannock Station, Virginia in July, 1863, shortly after the Battle of Gettysburg.
Of course, to make a single page of comics, I’ll have to narrow my focus to a few sentences at a time, so let’s choose a focus section:
Now, I’ll mark up that focus section to show my 4 key storytelling elements. At first glance, it’s a little hard to find FACES, or even specific ACTIONS, in this particular text — Roe uses passive tense an awful lot!
But reading with a little imagination, I come up with the following:
These markups suggest the following visual elements for my comic:
- FACES (CHARACTERS) = “the First Brigade” (soldiers in the Army of the Potomac) + “several thousand cavalrymen”
(I also plan to include my book’s main character, Freeman Colby) - ACTIONS = overlooking a river, crossing a river…
- SETTING = Rappahannock Station, the railroad, the banks of the Rappahannock (River)
- TEXT = I picked a couple key phrases I want to quote in my comic: “Orange & Alexandria Railroad,” “elevation overlooking the river”
3) Set Up a 3-Panel Page
Now I’ll set up a page with some panels, and populate them with my visual elements.
First, starting with a pencil, a ruler, and a blank piece of 11″x8.5″ copier paper:

… I’ll draw 1″ margins along the edges of the page, like so:
Everything inside this frame will be in my page; everything outside it is “out of bounds” and won’t appear in my artwork.
Next, I’ll draw lines across the inner “live area” to divide it into 3 panels, like so:
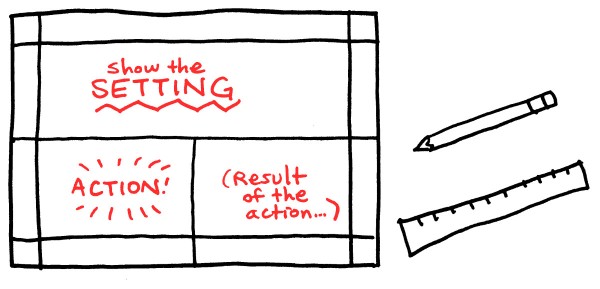
That top panel is larger than the bottom 2 panels, because I plan to draw this page using the following game-plan (in red):
For obvious reasons, I call this my “Setting-Action-Result” page format — I’ve found it’s one of many ways to jump-start a story.
Now I can populate these panels with my visual elements, and a story will take shape on the page…
4) Source Images & Imagination
But wait a minute — How can I draw my setting of the “Rappahannock River” if my source text doesn’t even describe it? Looks like I’ll have to do a little research to find out what it might have looked like in 1863. At the Library of Congress, I find this 1863 sketch by Alfred Waud:
↑ Alfred Waud: “The Rappahannock looking towards Falmouth R.R. Station” (February 1863) [LOC.gov]
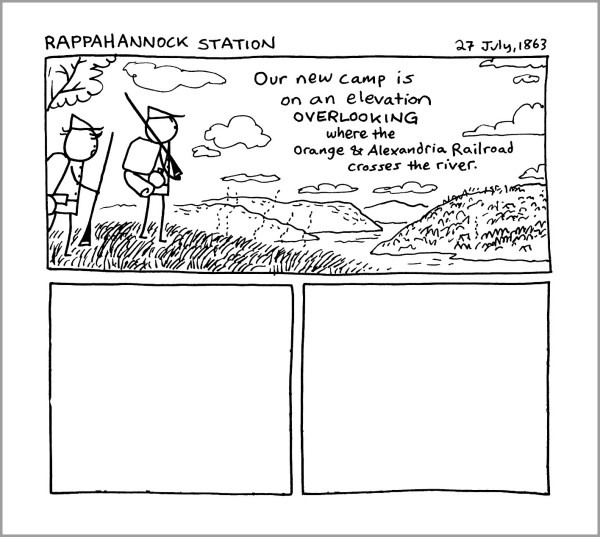
Great, I can use that to draw my cartoon version of the scene! I’ll of course have to rearrange my visual elements to “walk” the reader into the scene alongside my Freeman Colby character (entering on the left side, looking to the right to replicate English language reading direction):
It turns out my SETTING and ACTIONS (“overlooking”) plus some TEXT elements found their way into my SETTING panel!
But now I’m a little stuck… What other ACTIONS should I show in my smaller panels?
Perhaps a little more research will help me flesh out those lower panels…
My next discovery is this sketch of a Union camp scene at Rappahannock Station, drawn by Edwin Forbes just a few days after Colby arrived at the site: :
I’ll use that in my ACTION panel to show my CHARACTERS (the soldiers of the First Brigade) at rest in camp!
Similarly, this Forbes sketch shows horses drinking from the river — Say, these could be my other CHARACTERS, the Cavalrymen!:
↑ Edwin Forbes: “The Orange and Alexandria R.R. bridge (military)” (August, 1863) [LOC.gov]
(Also, now I know what that railroad bridge looked like… I’ll use that later on in the story.)
Drawing those two scenes into my page gives me this:
In the end, this sample page has grown beyond a simple SETTING-ACTION-RESULT page. Best of all, it combines several different historical primary sources to build a more complete “world” than any one source alone can do. The act of cartooning this story — even with a minimalist stick-figure style — has given me a powerful glimpse into the world of my sources, as well as the authorship of building a page to interpret for my readers these actual historical experiences & accounts.
For beginning students, I recommend they limit themselves to 3-4 panels per page like this — at least until they’re comfortable with the form & size, and have seen how the artwork looks when shrunk 50% to print size. For Freeman Colby Vol. 2, I’m actually drawing larger and taller pages than this example, so my final page for this passage will look like this:
Notice how I’m viewing all actions, setting details, and text through the senses of my character. The comics medium provides a platform to experience a primary source text as a fully present, living document — a creative graphic interpretation of accounts by eyewitnesses to history.
Multiply this process by 500 or so more pages, and we’ll have a complete graphic novel!
Cartoonist Marek Bennett draws comics & plays music in CLiF programs & other residencies throughout New England and beyond. His latest graphic novel, The Civil War Diary of Freeman Colby, Vol. 2, comes out in May, and is currently available for pre-ordering on Kickstarter.


I’m so proud of my creative cousin, Marek!